You can remove the MDM from a device directly from Primo through a process called disenrollment. There are two prerequisites:
- The device must be enrolled and present in Primo
- The device must appear as "Online" in Primo
Device Online
If these conditions are met, simply select the device > Actions > Disensoll.
The MDM will be removed from the device - immediately on macOS and after a brief delay on Windows.

Device Offline
When a device is offline, the disenrollment action is unavailable. You'll need to wait for the device to come back online to uninstall the MDM.
In such cases, you can use the "Mark as disenrolled" action to indicate in Primo that a device is no longer under MDM management when communication has already been lost.

Manually uninstalling an MDM agent
Uninstalling on Windows
On your Windows device, use the Access settings to remove the configuration profile.
- Click on the Start button > Settings, then click on Accounts
- Go to Accounts then Access work or school

- You will see a list of accounts managing the device. Look for the entry corresponding to the MDM, for example, Managed by Fleet MDM
- Select the MDM account, then click Disconnect or Remove

- Follow the instructions to completely remove the management device from the device
All that's left is to remove the MDM agent!
- Type Control Panel in the taskbar search box and select it from the list of results.
- Select Programs > Programs and Features.
- Press and hold (or right-click) on the Fleet osquery program and select Uninstall or Uninstall/Change.
- Then follow the on-screen instructions.
Great, the MDM is fully removed from your machine 🎉
Attached are the resources provided by Microsoft: Uninstall or remove apps and programs in Windows.
Uninstalling on MacOS
- On your Mac, open System Settings > Privacy & Security
- Click on Profiles on the right. (You may need to scroll down) Tip: you can also directly search for Profiles in the search bar 🔎
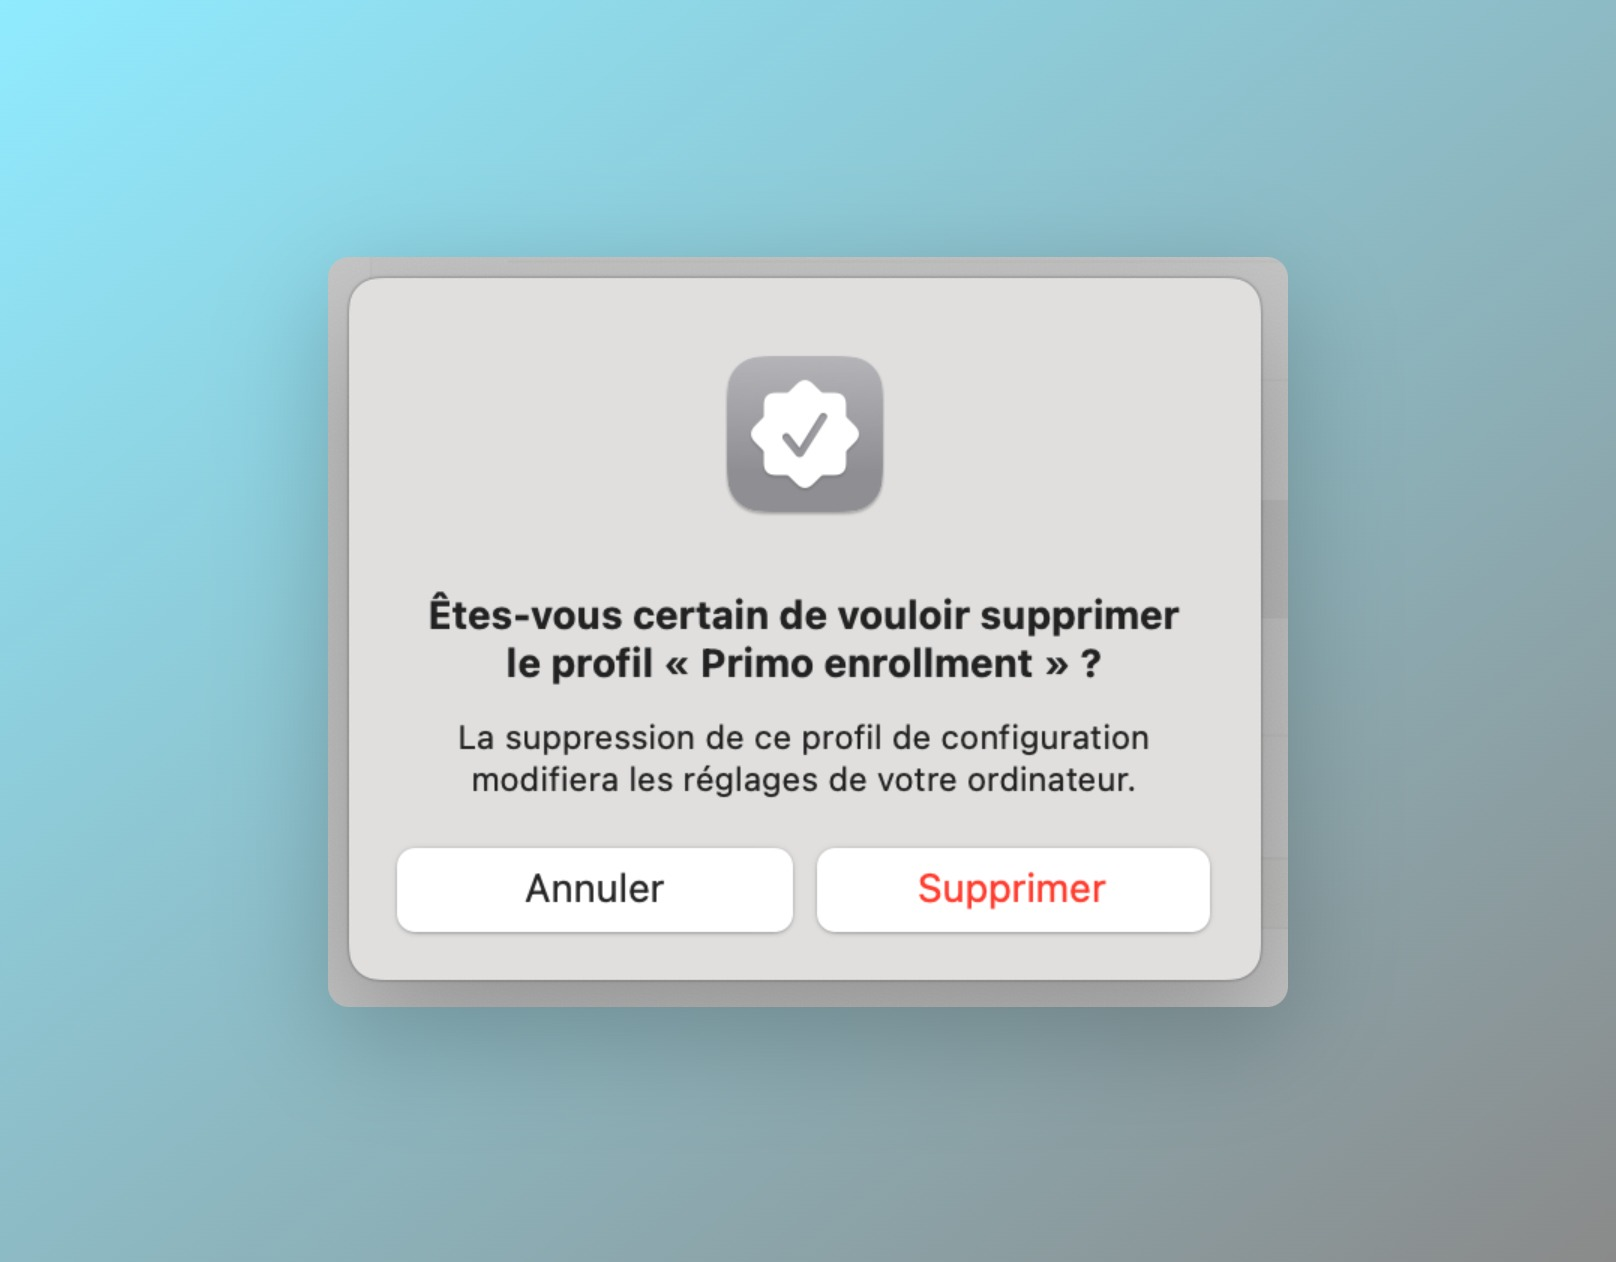
- To remove a profile: select the profile named "[Your Company] enrollment", then click on the ➖ button

- Finally, click on Remove

- Enter your session password
It's almost done 🎉
All that's left is to remove the MDM agent still present on your computer by clicking on the package below. Once downloaded, you just need to right-click > open. PrimoDisenroll.pkg